DIY Pool Plumbing Repair: A Step-by-Step Guide for Beginners
Introduction
As Dubai’s scorching heat sets in, having a functioning swimming pool is a must for homeowners and property investors alike. Whether you’re in Palm Jumeirah, Jumeirah Park, or the serene Emirates Hills, you value your pool as a pivotal part of your outdoor lifestyle. However, issues sometimes arise with pool plumbing, which can lead to significant inconveniences. Luckily, many of these problems can be addressed through DIY pool plumbing repair. This comprehensive guide will walk you through the fundamentals of pool plumbing repair in a step-by-step format, offering practical tips for beginners.
Ready to dive in? Let’s get started!
Understanding Pool Plumbing Systems
Before we jump into repairs, it’s essential to understand how your pool’s plumbing system works.
- Main Components:
- Skimmers: These collect debris from the water’s surface.
- Drains: Located at the bottom, they help in circulating water.
- Pumps: These keep water moving through the system.
- Filters: They remove contaminants and keep the water clean.
- Heaters: Optional for temperature control.
- Return Lines: These send clean water back into the pool.
Understanding the basics will help you troubleshoot effectively.
Common Pool Plumbing Problems
- Leaking Pipes
- Clogged Drains
- Pump Issues
- Air Leaks
- Low Water Pressure
Recognizing these issues early can save you time and money. Here’s how to tackle them.
Step-By-Step Guide to DIY Pool Plumbing Repair
Leak Detection
Step 1: Identify the Leak
- Visual Inspection: Look for damp spots or water puddles around your pool.
- Dye Test: Add a few drops of food coloring near suspected leaks; if the dye gets sucked in, you have a leak.
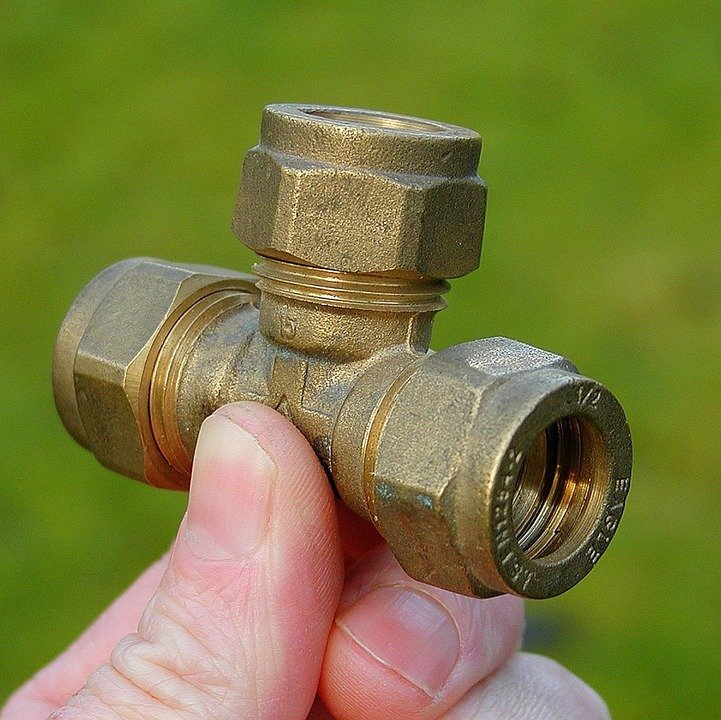
Step 2: Determine the Cause
- Leaks can occur from damaged pipes, faulty fittings, or broken valves. Knowing the source will guide your repair efforts.
Repairing Leaks
-
For Small Cracks:
- Use a waterproof epoxy sealant.
- Clean the area thoroughly, apply the sealant, and let it cure as per the manufacturer’s instructions.
- For Larger Damage:
- Shut the Water Off: Turn off your pump to prevent further flooding.
- Cut Out the Damaged Section: Use a hacksaw to cut away the damaged pipe.
- Prep Replacement Pipe: Cut a new section of PVC pipe to match the old one.
- Glue and Secure: Use PVC cement to attach the new section and let it sit for about 30 minutes.
Clogged Drains
Step 1: Clear Debris
- Remove visible debris from the surface of the pool and the skimmer.
Step 2: Use a Plumber’s Snake
- Insert a plumber’s snake into the drain if water is not flowing properly.
- Spin the snake to break up any clogs, then pull it out slowly.
Step 3: Water Flush
- Once cleared, run water through the drains to ensure they are flowing freely.
Addressing Pump Issues
-
Check Power Supply:
- Ensure the pump is plugged in and the circuit breaker hasn’t tripped.
-
Inspect Filters:
- A dirty filter can reduce water flow. Clean or replace filters as needed.
- Check for Air Leaks:
- Inspect all seals, connections, and gaskets. Tighten or replace as necessary.
Fixing Air Leaks
Step 1: Inspect Equipment:
- Check the pump lid and housing for cracks or missed gaskets.
Step 2: Lubricate Gaskets:
- Use a silicone-based lubricant to ensure a tight seal.
Step 3: Tighten Connections:
- Ensure all fittings and connections are secure without overtightening.
Restoring Water Pressure
-
Step 1: Check for Clogs: Follow previous steps for clearing drains and inspecting filters.
-
Step 2: Adjust Valves: Make sure valves are fully open to allow for maximum flow.
- Step 3: Inspect Pump Settings: If your pump has variable speed settings, make sure it’s adequately set for your pool size.
When to Call a Professional
While the above steps can remedy many common issues, it’s important to know when to call a professional. Some scenarios include:
- Complex Repairs: If you encounter extensive damage or have trouble identifying the problem.
- Hydraulic Issues: Pool plumbing involves hydraulics, and a wrong move can exacerbate problems.
- Legal Regulations: Certain repairs may also require compliance with local regulations or building codes.
In Dubai, contact Dream Floor Landscaping Services at +971563787002. Our team of experts is ready to assist you with any major plumbing concerns you may encounter.
Maintenance Tips for Your Pool Plumbing
To minimize future plumbing issues, consider the following regular maintenance tips:
- Regular Inspections: Check your plumbing system quarterly for any signs of wear or stress.
- Clean Filters Monthly: Keeping your filters clean helps maintain proper flow and system health.
- Monitor Water Levels: Pay attention to water levels over time to catch any leaks early.
- Acid Wash Annually: Acid washes can help maintain the overall system and plumbing, cleaning out any old buildup or deposits.
- Consult a Professional: Schedule a thorough inspection from a pool expert at least once a year.
Conclusion
DIY pool plumbing repair is an invaluable skill, especially for homeowners and property investors in Dubai. With a little knowledge and confidence, you can tackle common plumbing problems effectively, saving yourself time and money. Always keep safety in mind and know when it’s time to call a professional.
If you ever find yourself facing a plumbing issue beyond your comfort zone, don’t hesitate to reach out to Dream Floor Landscaping Services at +971563787002. We provide expert repair services across Dubai, including popular areas like Palm Jumeirah, Meadows, Jumeirah Islands, and Arabian Ranches.
By following strong maintenance practices and knowing how to tackle basic repairs, you can enjoy your pool all year round. Happy swimming!
By incorporating relevant keywords such as “DIY Pool Plumbing Repair: A Step-by-Step Guide for Beginners,” and ensuring the content remains informative and engaging, this blog post is optimized for search engines and designed to attract and inform a Dubai-based audience effectively.